Know-How of PDF Security Removal Tool
Guide to Remove Owner Password Security from PDF Files
Step 1 - Download and Install PDF Security Removal tool
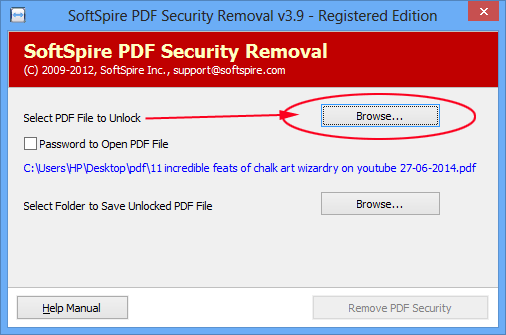
After installing the software, you will see the first screen of software. In the first screen, you can seen the browse option to select the PDF file which you want to unlock, Click on “Browse” and add PDF to unlock.
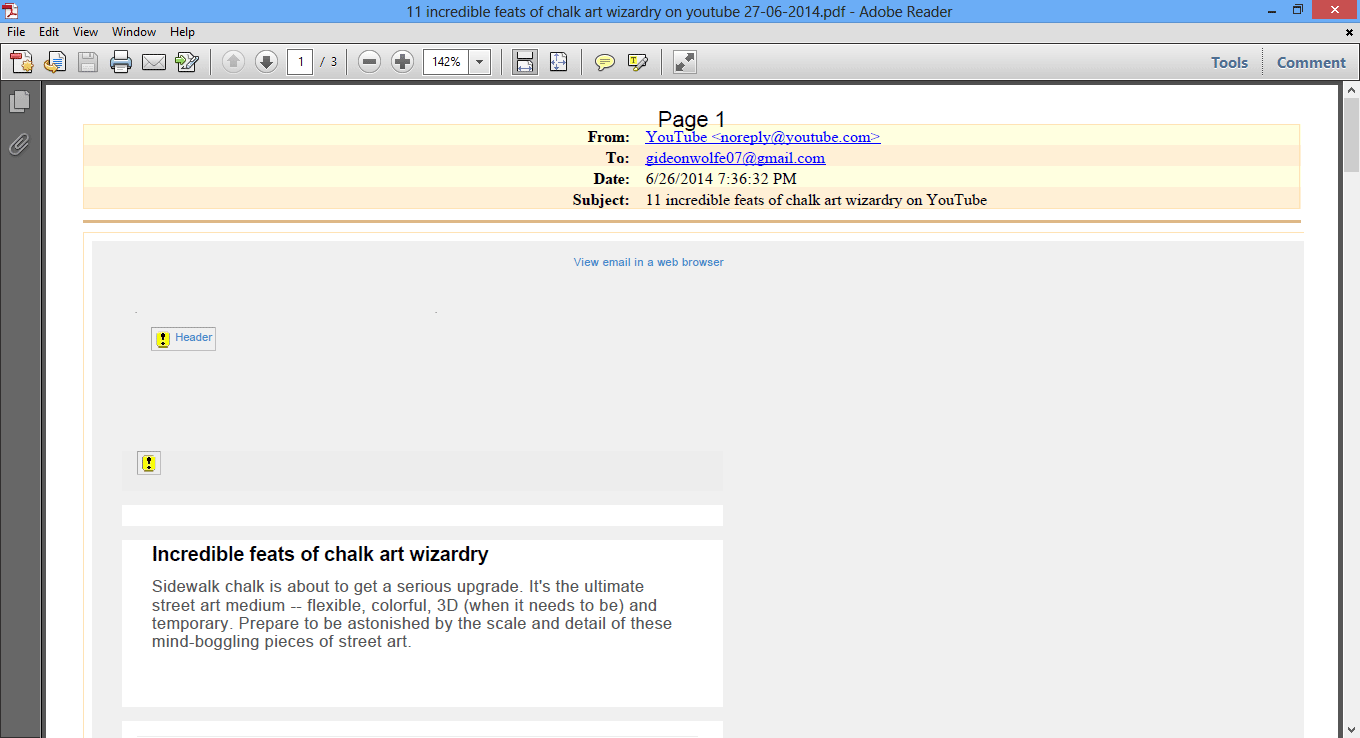
Note: After adding unlock PDF file you can seen the PDF file path and get the “Restrict PDF” status
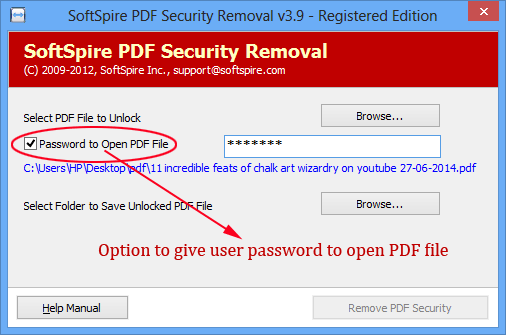
Step 2 - Password to Open PDF File (Option for User Password)
If your PDF is protected with user password then you have to click on “Password to Open PDF file” option to give user password to open PDF file.
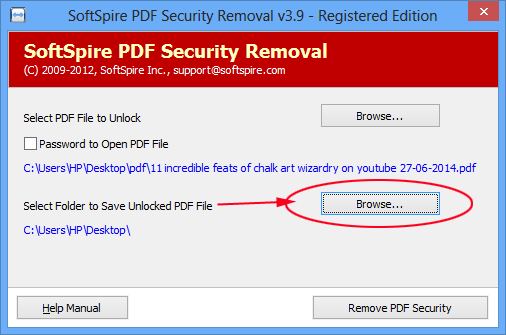
Step 3 - Browse the Folder to Save Unlocked PDF File
After browsing the unlock PDF file, Click on “Browse” to select the desirable location to save unlocked PDF file, when you select saving location, you can seen the saving path right next to browsing option
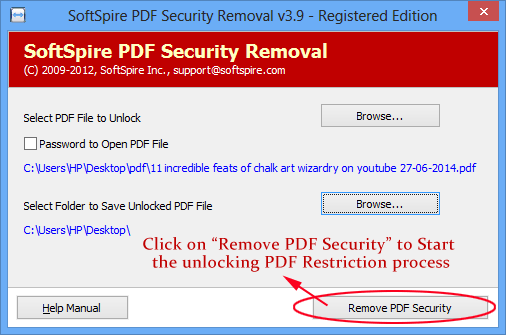
Step 4 - Remove PDF Security
Click on “Remove PDF Security” button to start the unlocking PDF Restriction process
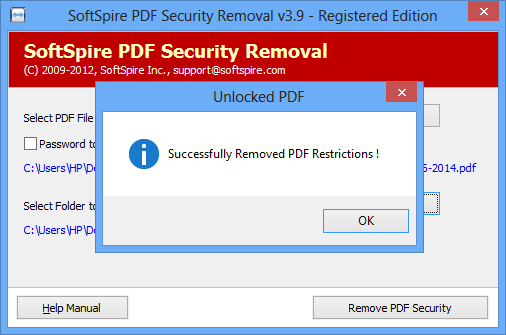
Step 5 - Unlocked PDF
After removing the PDF restriction, software will display “Successfully Removed PDF Restriction” message.
Step 6 - Open the Unlocked PDF File
Click on “OK” and software will automatically open the folder where your unrestricted PDF is saved.