Help Manual of Outlook Express Migration Utility
Steps to Convert Outlook Express .dbx files to Outlook .pst format
Here the whole conversion procedure has been laid out along with the steps. You would know how the whole procedure progresses step by step. The steps are explained in exact succession, as you are to follow them.
Step 1 - Run the OE Converter Software
Go to Start » menu » Programs » SoftSpire OE Converter » SoftSpire OE Converter. Software will appear on the following screen:
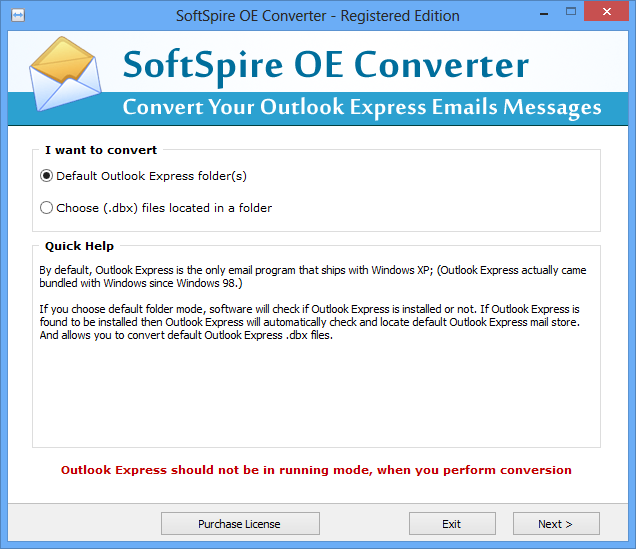
Step 2 - Choose any one of the 2 options
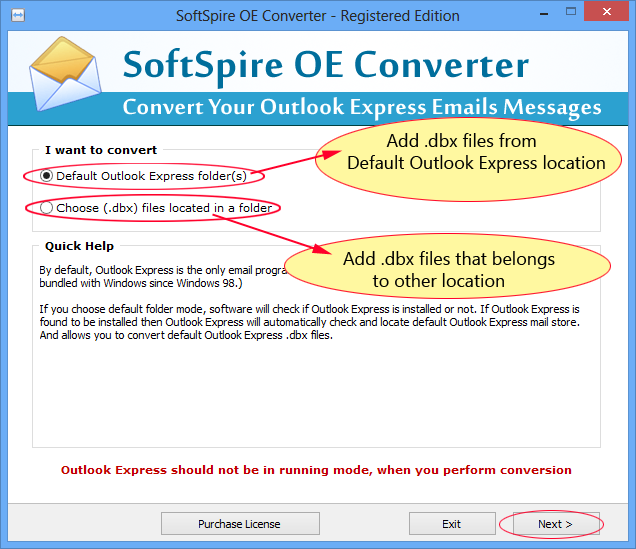
- Default Outlook Express folder(s) – If you select this option, then the software would automatically find and select DBX folder from default profile of Outlook Express Installation location.
- Choose (.dbx) files located in a folder – If you choose this option, then you will need to manually select DBX files from store location. For that select this option, click on Next, in the next screen you will find a Select button, using which you can select DBX files
Note: Choose any one of the 2 options (given in the “I want to convert” section), then click on “Next”
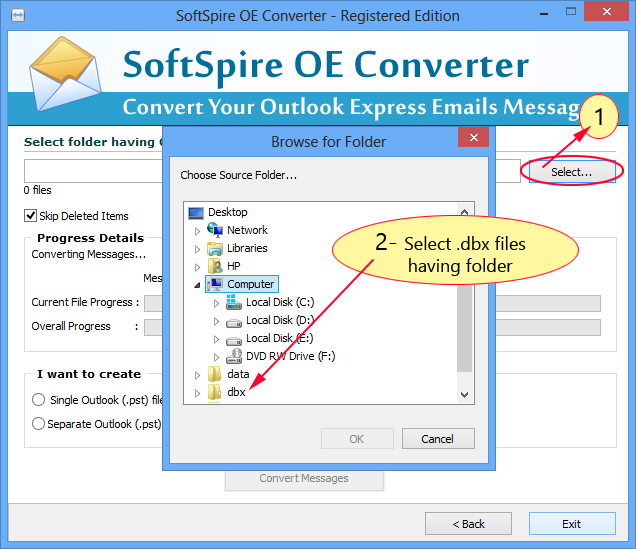
Step 3 - Select folder having Outlook Express (.dbx) files
Select folder having Outlook Express (.dbx) files – Click on Select button and browse the folder that contains Outlook Express .dbx files.
Step 4 - There is also “skip deleted items” option
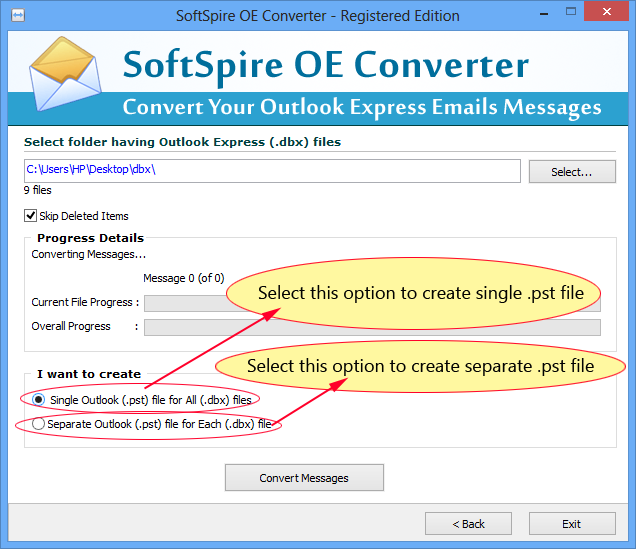
There is also “skip deleted items” option, if you want to convert the deleted items folder then uncheck this option or if you don’t want to convert the deleted items folder in PST, then please select this option

Step 5 - Start Conversion
- Single Outlook (.pst) file for all (.dbx) files – Select this option to create single PST file for all the DBX files after conversion.
- Separate Outlook (.pst) file for each (.dbx) file – For all DBX files the software will create separate PST file.
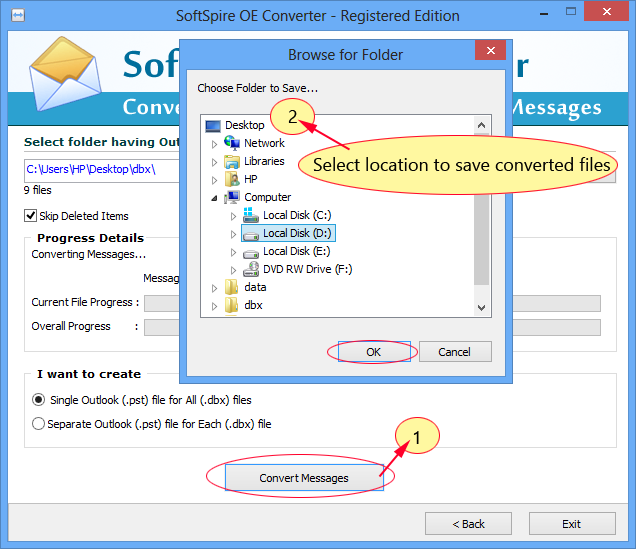
Step 6 - Choose saving location
- Click on “Convert” button
- Then select location to save emails after conversion and click on “OK”
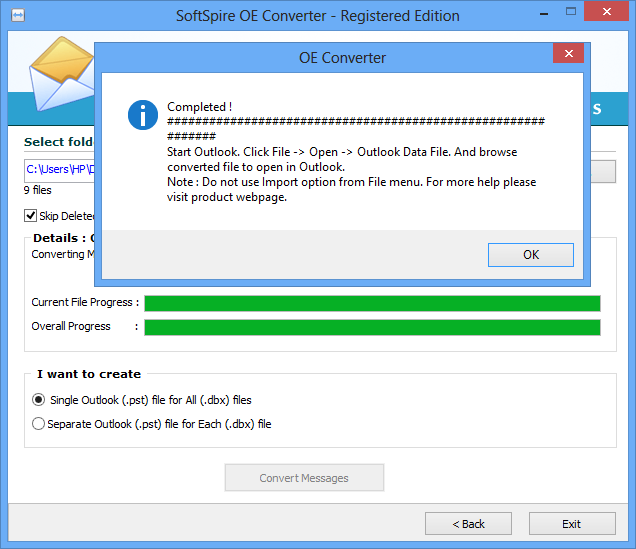
Step 7 - Start Conversion
After Outlook Express to Outlook conversion completion you will get a message “Conversion Complete”, which indicates the conversion being successfully done
Step 8 - Software automatically opens converted file in Outlook
After the conversion, OE converter automatically opens the converted file in MS Outlook. Then you may open MS Outlook and view converted PST file in it.
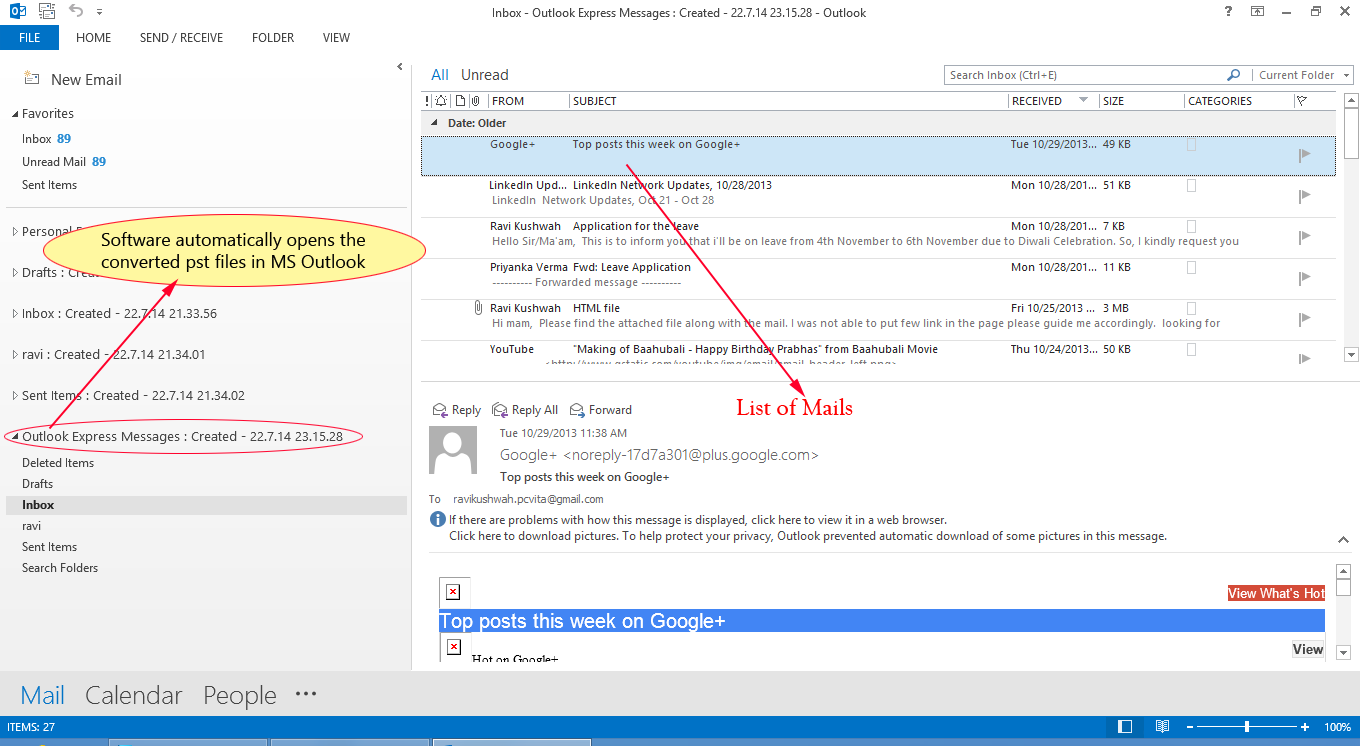
Note: If you do not find the emails there already, then go to “File menu” of MS Outlook, click on "Open & Export", then click on "Outlook Data Files" and browse the converted PST from the location you have chosen during the conversion.
